Creating an OpenSearch Cluster
This article describes how to provision an OpenSearch cluster using Logit.io. An OpenSearch cluster is a collection of nodes that work together to store, search, and analyze your data. By following these steps, you'll have a fully functional OpenSearch environment ready for your logging and analytics needs.
Add Hosted OpenSearch
These guides are easier to follow when you are logged in as we can then use your account and stack details to help with navigation. Please click here to login.
To get started, click the 'Add Stack' button at the top of your dashboard.

You will see a list of all the available stack type, click the 'Add to Plan' button next to Hosted OpenSearch.

Configure Stack
You will be presented with your configuration options. Choose a configuration that matches your performance and pricing requirements. Logit.io assign you at least 2 cluster nodes which ensures that the nodes are allocated across different racks within a data centre and also that the allocation is evenly distributed. We do this to ensures stability, fault tolerance and consistent performance.

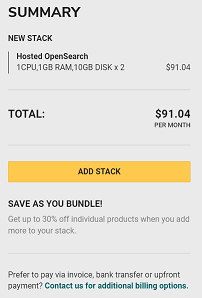
Stack Summary
On the right hand side of the page you will see a summary, in this case as we are only adding a Hosted OpenSearch Stack we see just a summary for that. Once you have reviewed the details and pricing and are happy that it meets your requirements click the 'Add Stack' button to create your OpenSearch Cluster.
Logit dashboard
Your will be returned to your Logit.io dashboard and that's it. You have now finished creating your OpenSearch Cluster and it is ready for use.
The Hosted OpenSearch will be visible on your Logit.io Dashboard, you may have to scroll to find it if you have several Stacks already set up on your account.

Further Help and Guidance
You can click the 'How To Connect To My Cluster" button of the Stack on your Logit.io Dashboard or alternatively see the articles below for help and guidance as a next step: