AWS Lambda Cloudwatch
Push logs from Amazon Cloudwatch to your Stack using the Logit.io API
Follow the steps below to send your observability data to Logit.io
Logs
Install Integration
Ensure Cloudwatch configuration
Amazon recommends shipping logs and metrics to Amazon Cloudwatch using the unified CloudWatch agent, read more about how to configure the Amazon Cloudwatch Agent (opens in a new tab) to collect both logs and metrics.
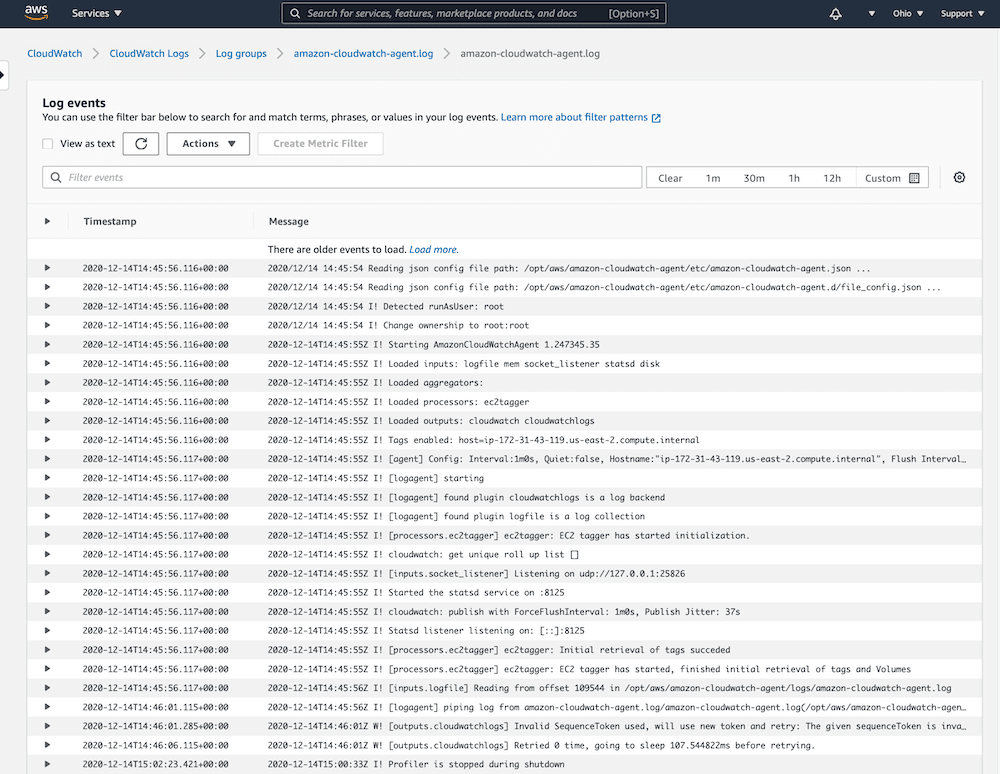
Read more about the metrics collected (opens in a new tab) by the Cloudwatch Agent.
Once we ensure our logs or metrics are arriving in Cloudwatch we can continue to Step 2 where we configure Lamba to push our data to Logit.io.
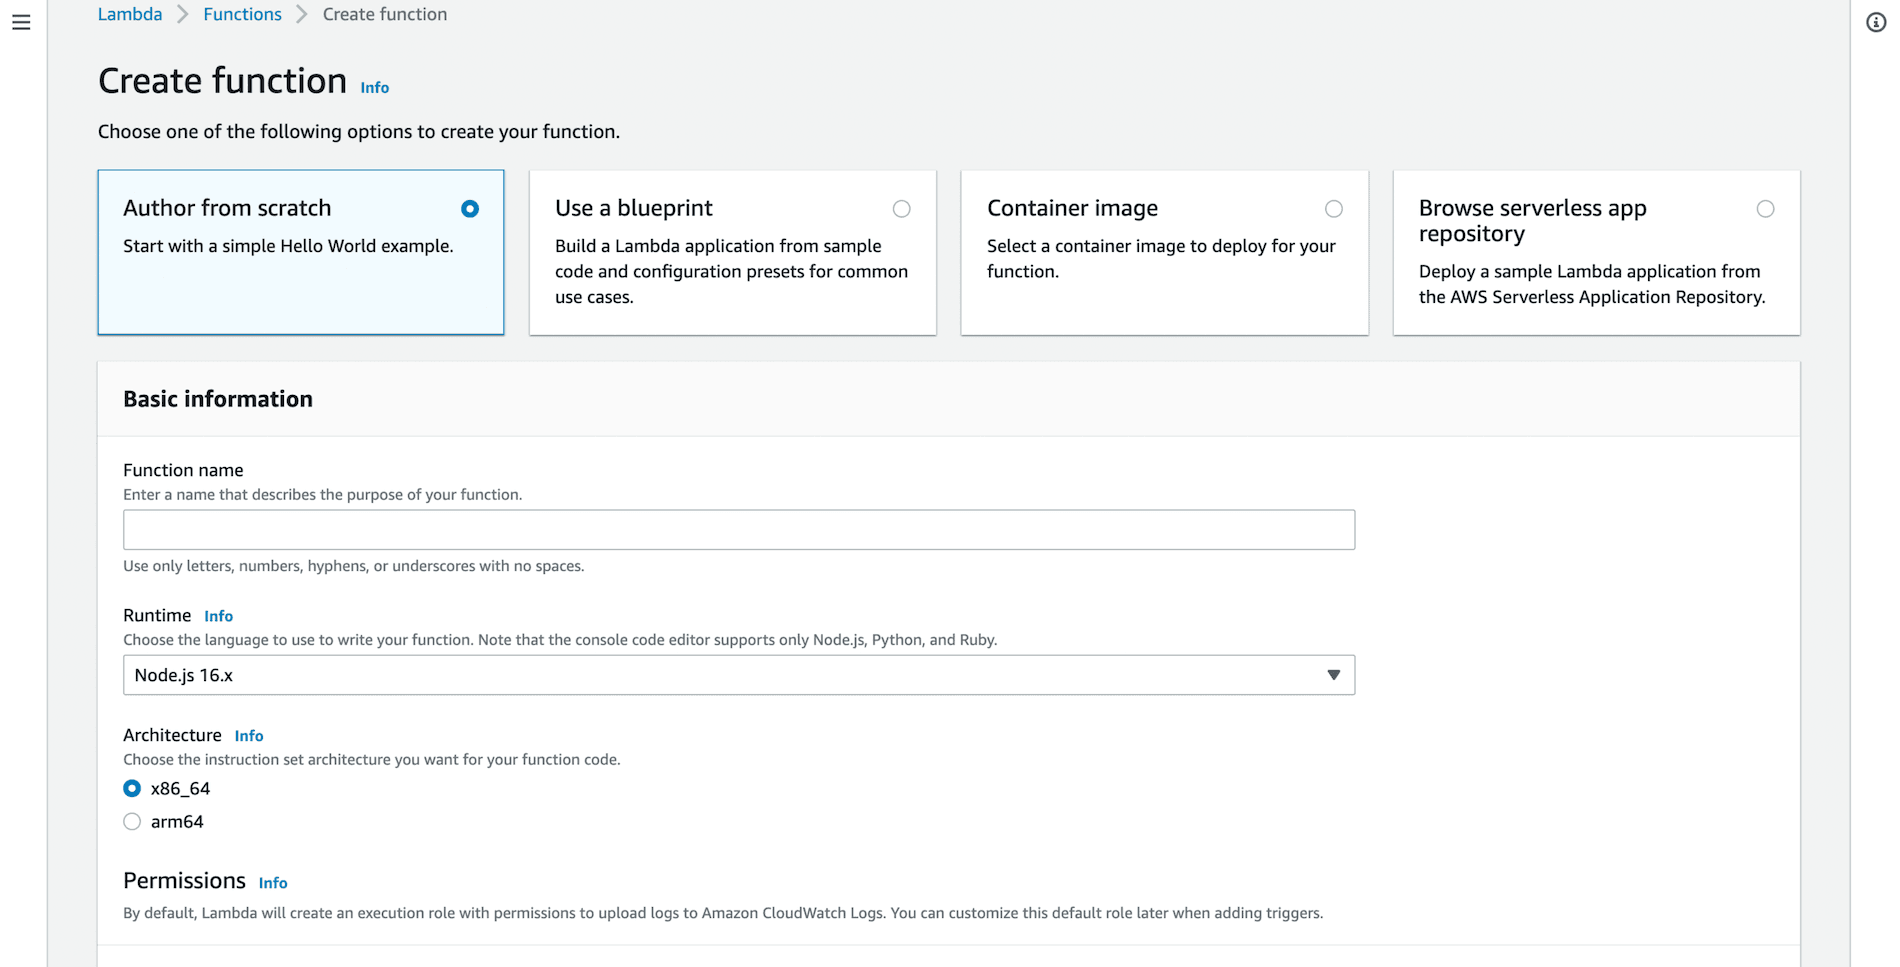
Configure Lambda function
From your Amazon Console browse to the Lambda functions and choose Create Function.
Choose Author from scratch, enter a name and ensure the runtime version is Node.js 16.x, then Create function.
Replace the index.js example code
exports.handler = async (event) => {
// TODO implement
const response = {
    statusCode: 200,
    body: JSON.stringify('Hello from Lambda!'),
};
return response;
};
with the following lambda function, which will ship your Cloudwatch logs to your Stack API.
'use strict';

const AWS = require('aws-sdk');
const http = require("https");
const zlib = require('zlib');

const configurationData = {
  logitApiKey: @apikey
};

function parseEvent(logGroupName, logStreamName, logEvent) {
  return {
    message: logEvent.message.trim(),
    logGroupName: logGroupName,
    logStreamName: logStreamName,
    timestamp: new Date(logEvent.timestamp).toISOString()
  };
}

function sendToLogit(logitPayload, context, callback) {
  const stringPayload = JSON.stringify(logitPayload);

  try {
    const options = {
      "method": "POST",
      "hostname": "@logitApiEndpoint",
      "port": null,
      "path": "/v2",
      "headers": {
        "apikey": configurationData.logitApiKey,
        "content-type": "application/json",
        'content-length': stringPayload.length,
      }
    };

    const request = http.request(options, (response) => {
      var chunks = [];

      response.on('data', function (chunk) {
        chunks.push(chunk);
      });

      response.on('end', function () {
        const body = Buffer.concat(chunks);
        console.log("Response text: " + body.toString());

        if (response.statusCode !== 202) {
          console.log("Response code invalid:", response.statusCode);
          callback("Invalid status code");
        }
        else {
          console.log("Log data sent successfully.");
          callback(null);
        }
      });
    });

    request.on('error', (error) => {
      console.log('Problem executing the request:', error.toString());
      callback(error);
    });

    request.write(stringPayload);
    request.end();
  }
  catch (exception) {
    console.log(exception.message);
  }
}

function handleInput(input, context, callback) {
  const payload = new Buffer.from(input.awslogs.data, 'base64');

  zlib.gunzip(payload, function(error, result) {
    if (error) {
      callback(error);
    }
    else {
      const rawLogEvents = JSON.parse(result.toString('ascii'));
      const logEvents = rawLogEvents.logEvents.map(function(rawLogEvent) {
        return parseEvent(rawLogEvents.logGroup, rawLogEvents.logStream, rawLogEvent);
      });

      const logitPayload = {
        cloudWatchLogEvents: logEvents
      };

      sendToLogit(logitPayload, context, callback);
    }
  });
}

exports.handler = function(input, context, callback) {

if (process.env.logitApiKey && (/\S/.test(process.env.logitApiKey))) {
  configurationData.logitApiKey = process.env.logitApiKey.trim();
  handleInput(input, context, callback);
  }
  else {
    callback("Environment value for logitApiKey must be specified.");
  }
};
Environment variables
Add an environment variable to the Lambda function for your Logit.io API Key.
You can find this below or by choosing Settings > Stack API Keys.
Your Api Key: @apikey

Save and Deploy the function.
Configure CloudWatch trigger
From the Lambda designer choose to Add Trigger and select the required CloudWatch Log Group.
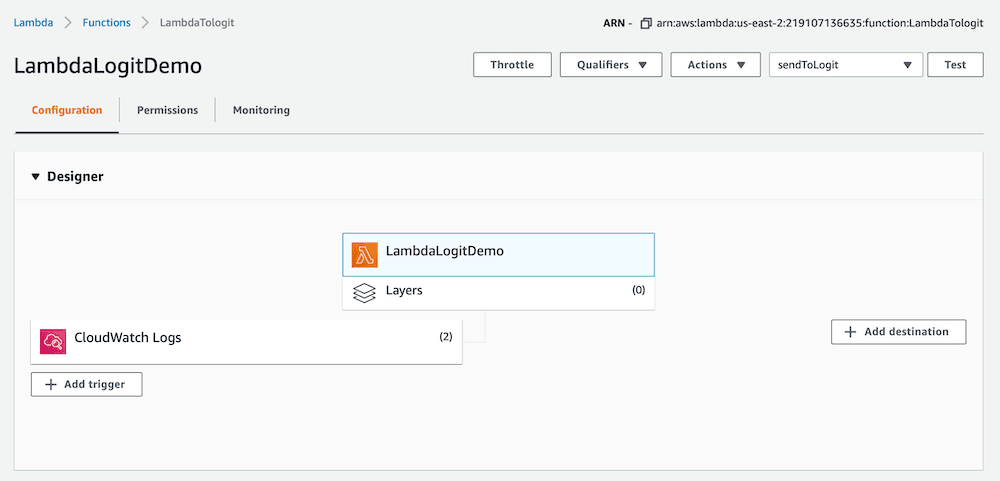
The CloudWatch designer should now look similar to the image above. Any logs that arrive in Cloudwatch will now be forwarded to your Stack via the API.
We should now be receiving data in Kibana.
Launch OpenSearch Dashboards to View Your Data
Launch OpenSearch DashboardsHow to diagnose no data in Stack
If you don't see data appearing in your stack after following this integration, take a look at the troubleshooting guide for steps to diagnose and resolve the problem or contact our support team and we'll be happy to assist.
Configure Logstash Pipelines (Optional)
All Logit.io stacks come pre-configured with popular Logstash Pipelines. We would recommend that you add CloudWatch specific filters if you don't already have them, to ensure enhanced formatting of your data.
Edit PipelinesEdit your Logstash Pipelines by choosing Stack > Settings > Logstash Pipelines
if ([message] =~ "cloudWatchLogEvents") {
    json {
      source => "message"
      remove_field => [ "message" ]
    }
    split {
      field => "cloudWatchLogEvents"
    }
    mutate {
      rename => [
        "[cloudWatchLogEvents][logGroupName]", "logGroupName",
        "[cloudWatchLogEvents][logStreamName]", "logStreamName",
        "[cloudWatchLogEvents][message]", "message",
        "[cloudWatchLogEvents][timestamp]", "timestamp"
      ]
      remove_field => "cloudWatchLogEvents"
    }
    date {
      match => ["timestamp", "ISO8601"]
      target => "@timestamp"
      remove_field => [ "timestamp" ]
    }
}
Cloudwatch Lambda Overview
Sending data from Amazon Lambda CloudWatch to Logit.io provides a fully scalable way to centralize serverless application logs for robust monitoring and analysis. To optimize your AWS environment further, consider exploring our Amazon CloudFront integration, which accelerates content delivery, and Amazon VPC integration, which enhances security and isolation. These integrations are a seamless addition to Logit.io's service for AWS logging (opens in a new tab).